Speak to us of Freedom – Assembly begins

The Gibran Sculpture Series


Here we are, weeks down the line and many, many steps, and we still haven’t seen anything that’s recognisable as the original clay sculpture yet.  This is where it starts to come together at last!

To remind you, this is what we are starting with…
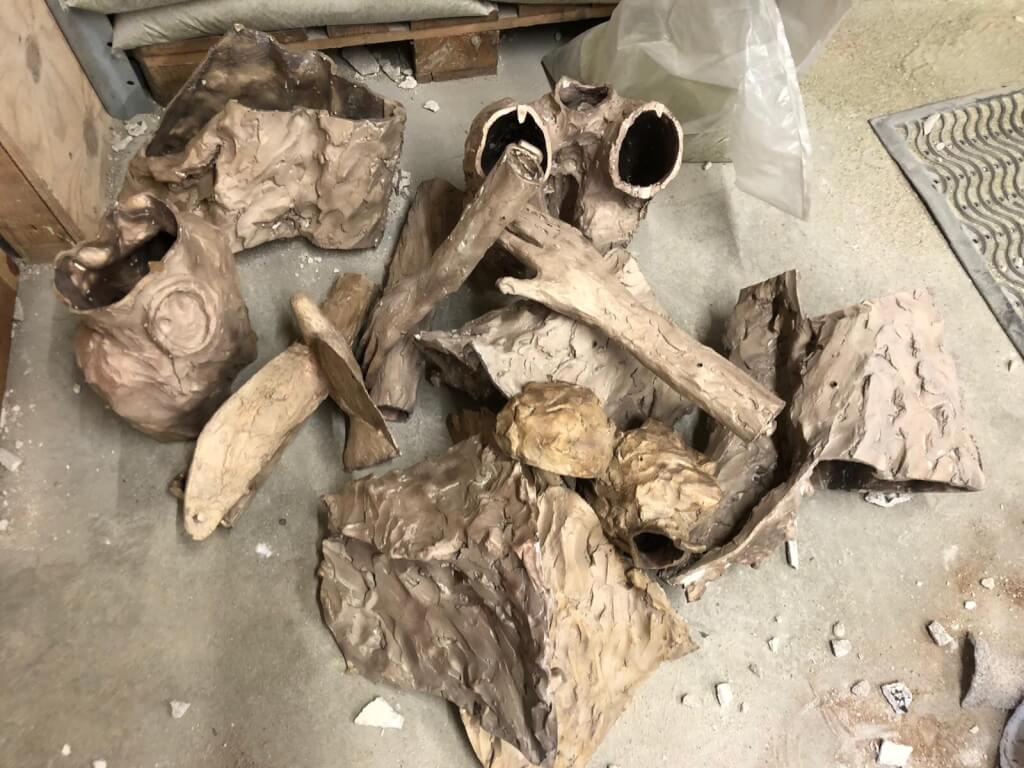
This is a colour photo of some of the individual castings that go to make up the finished bronze sculpture. They are resting on the floor of the workshop in a jumbled pile. Some of the pieces are identifiable such as the hands, the dove, the waist and the upper torso and upper arms, but the rest are incomprehensible!

Some of the components of Spirit of Freedom in a pile on the floor.

The assembly process…

To assemble the complete sculpture, the individual cast components need to be ‘glued’ together.  This is done with a two-step argon welding process.  Two castings are put together so that their edges meet as closely as possible.  The fit ought to be very close to perfect, because after all, that’s how the castings were made in the first place.  Then they are spot welded just to hold them together mechanically while the ‘seam’ or ‘join’ is finished by a continuous weld to give the greatest strength as well as making the join invisible.

In the photo below, you can see a thin, snaking gap between two sections.  The welding torch and the rod are being used to create a continuous weld all along the joint.

Just below them you can see a spot weld, holding the two pieces together.
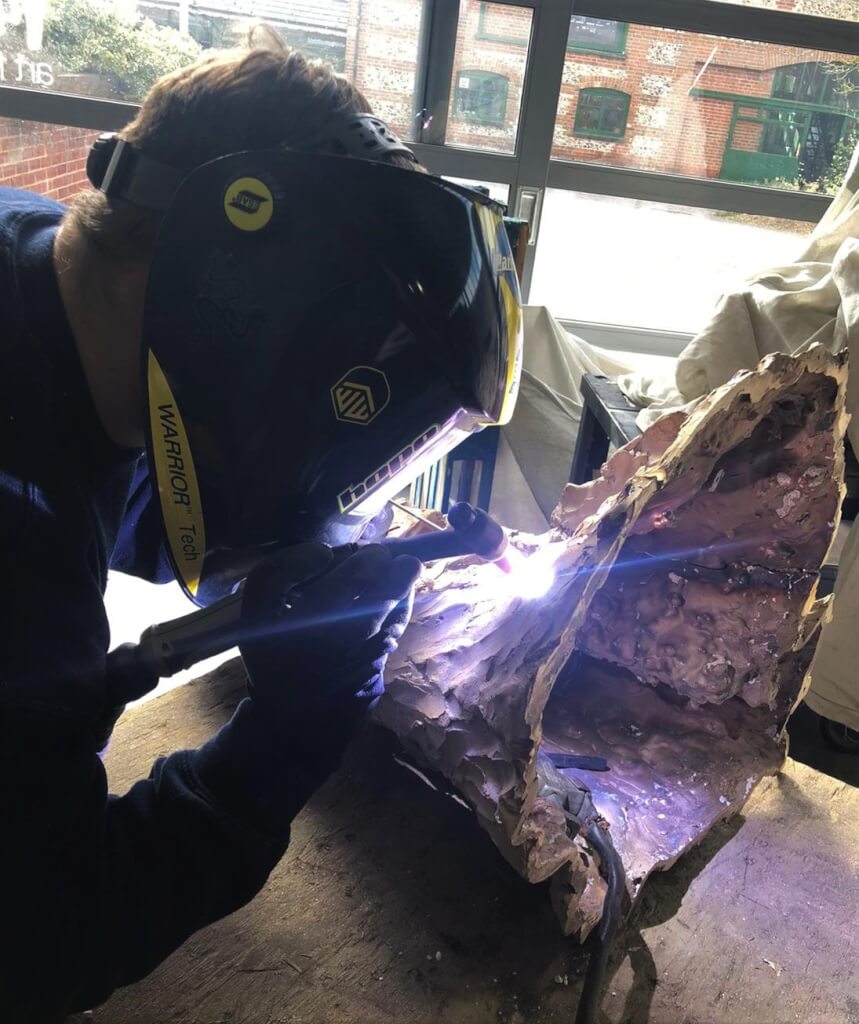
This is a colour photo showing the start of the assembly process. Individual castings have been fitted together and then spot welded to hold them in place. This photo shows the bottom section of the sculpture having the joints continuously welded to hide the join between the castings. The sculpture is resting on a workbench in the workshop. The base of it is facing down and to the right. The craftsman is standing to the left of the bench holding the welding gun in his right hand and the welding rod in his left. he is bent over the piece, wearing a full-face protective helmet. The background is the windows of the workshop and another flint-and-brick, single storey building across a small courtyard.

Here, individual castings have been fitted together and then spot welded to hold them in place. This photo shows the bottom section of the sculpture having the joints continuously welded to hide the join between the castings. The sculpture is resting on a workbench in the workshop. The background is the windows of the workshop.
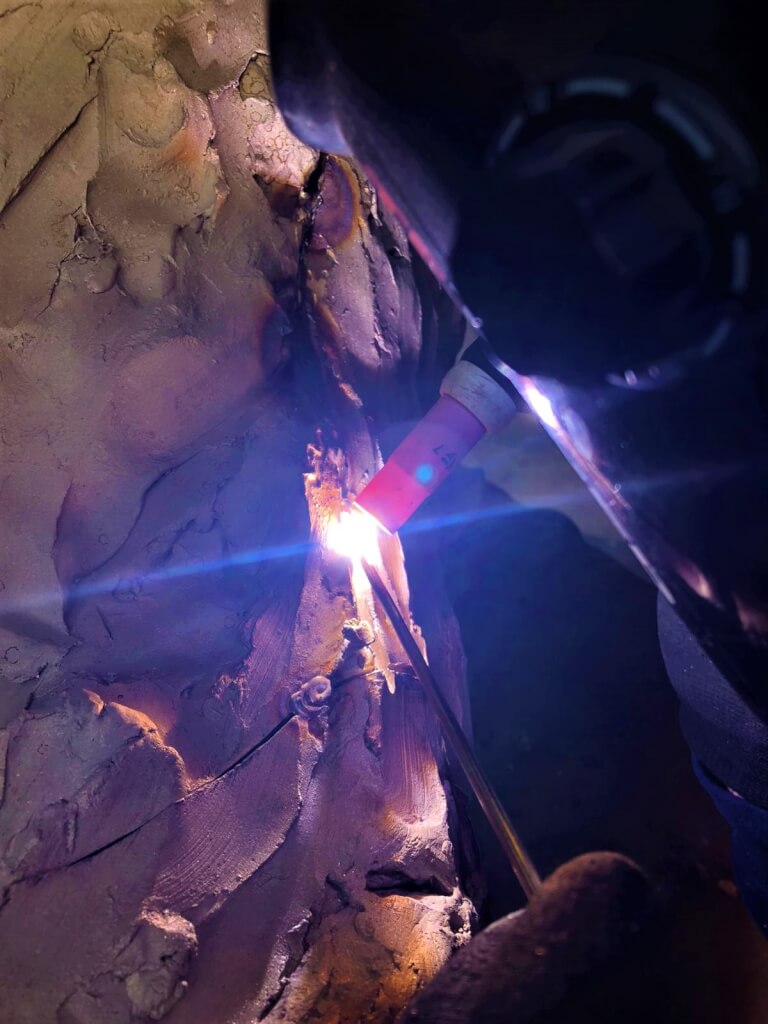
This is a colour photo showing the start of the assembly process. Individual castings have been fitted together and then spot welded to hold them in place. This photo is a close up of the continuous welding process. It shows two sections of the sculpture being continuously welded to hide the join between the castings. The craftsman is standing on the right of the picture. His left hand is at the bottom right of the picture holding the welding rod which seems to be pointing upwards towards the heat. His full-face protective helmet fills the right-hand edge of the photo. A little below the current welding focus you can see a small spot weld which is holding the castings in place until they are fully continuously welded.

This photo is a close up of the continuous welding process. It shows two sections of the sculpture being welded to hide the join between the castings. In case you can’t work out what you are looking at, the craftsman is standing on the right of the picture. His left hand is at the bottom right of the picture, holding the welding rod which appears to be pointing upwards towards the heat. His full-face protective helmet is filling the right-hand edge of the photo. A little below the current welding focus, you can see a small spot weld which is holding the castings in place until the continuous weld is complete.
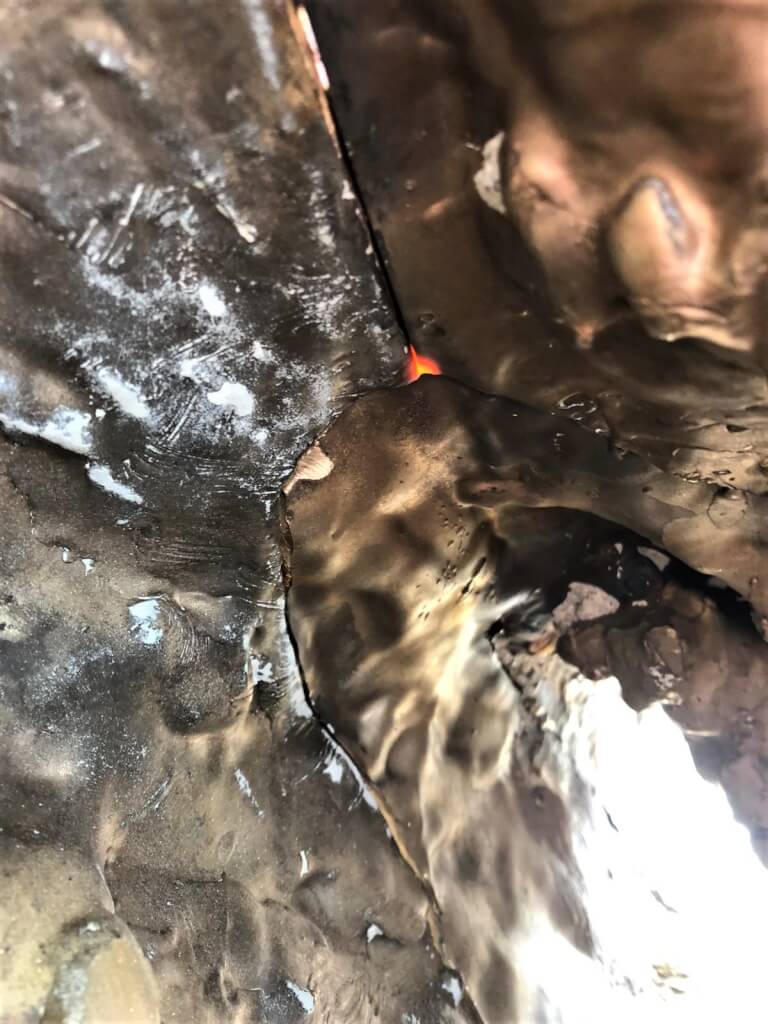
This is a close-up colour photo of the inside of the base of the sculpture. It shows three castings which have been welded together. In simple terms, there is a large casting that runs from top to bottom of the left hand side of the picture and then two others held against it, one top right and the other bottom right. There is a red-hot heat spot where the three edges meet in the centre of the picture. Daylight is flooding into the cavity of the sculpture from the bottom right of the picture.
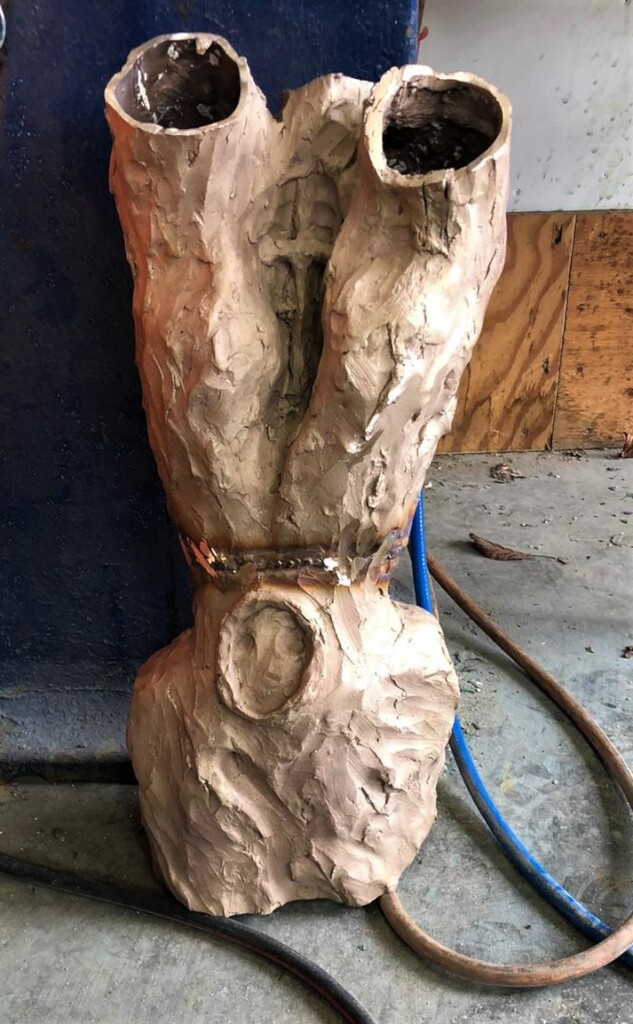
This is a close-up of the inside of the base of the sculpture.  It shows three castings which have been welded together. There’s a large casting that runs from top to bottom of the left hand side of the picture and then two others held against it, one top right and the other bottom right. There red-hot heat spot is where the three edges meet in the centre of the picture. Daylight is flooding into the cavity of the sculpture from the bottom right of the picture.

This colour photo shows the mid-section of the sculpture fully assembled and welded. This section is the piece between the bottom of the neck and the very tops of the raised arms down to the bottom of the torso. It is propped up, resting on the floor of the workshop with oxygen, acetylene and argon rubber welding hoses. It is a very pale bronze colour at this stage of the process with a brighter, hooped line where the joint across the waist has been continuously welded.

This photo shows the mid-section of the sculpture fully assembled and fully welded. This section is the piece between the bottom of the neck and the very tops of the raised arms down to the bottom of the torso. It is propped up,  on the floor of the workshop with oxygen, acetylene and argon rubber welding hoses. As you can see, it is a very pale bronze colour at this stage of the process.  The brighter, horizontal hooped line is where the joint across the waist has been continuously welded.
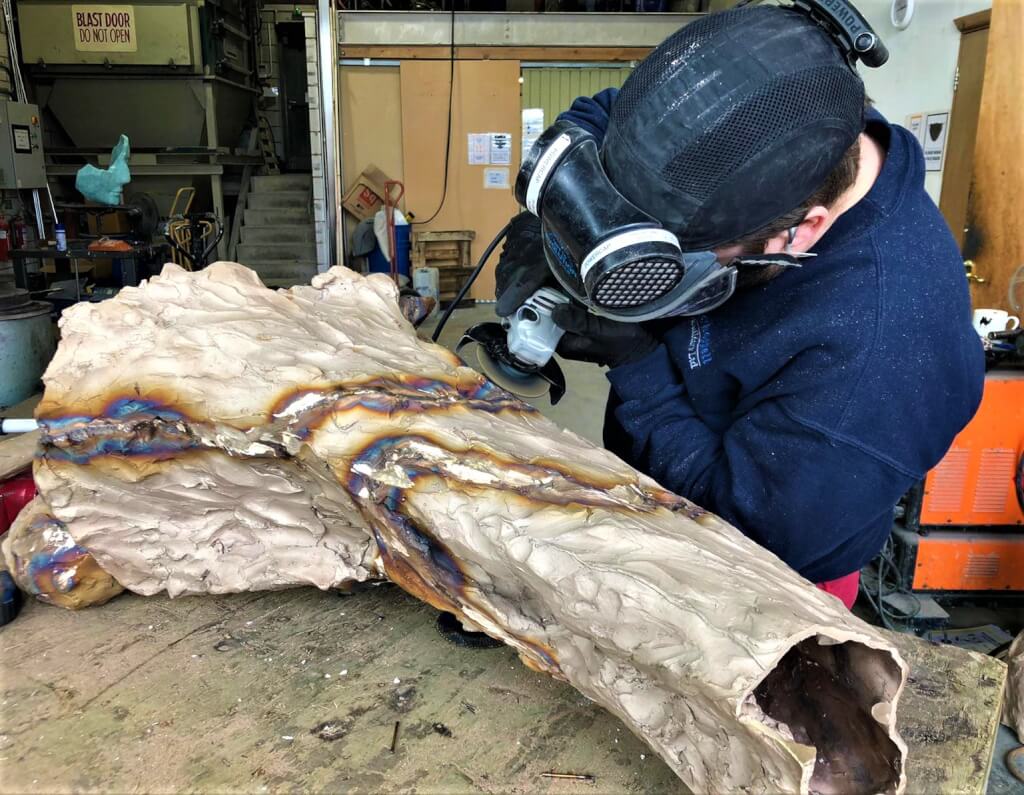
This is a colour photo of the bottom half of the sculpture resting on its side on the bench in the workshop. This section is the section from the feet or base to the tops of the thighs. The assembly of this section is complete and a specialist is now removing any excess metal left over from the welding process to ensure that the complete assembly matches the original wax and clay sculpture. The operator is standing behind the bench facing towards us and to our left holding an angle grinder that he is applying to the sculpture. He is wearing a navy blue coloured sweatshirt and a helmet with full face visor and two circular air filters. His head is tipped towards us so that we see the top of the helmet. Behind him is the back wall of the foundry, with a furnace on the far left and behind that a large galvanised hopper with, to its right, a set of concrete steps going up.

This is the bottom half of the sculpture resting on its side on the bench in the workshop. This section is the section from the feet, or base, to the tops of the thighs. The assembly of this section is complete and a specialist is now removing any excess metal left over from the welding process to ensure that the complete assembly matches the original wax and clay sculpture.

The operator is using an angle grinder. Behind him is the back wall of the foundry, with a furnace on the far left and behind that a large galvanised hopper with, to its right, a set of concrete steps going up.

See the finished Speak to us of Freedom sculpture here.

Pin It on Pinterest

Share This